IR Photography
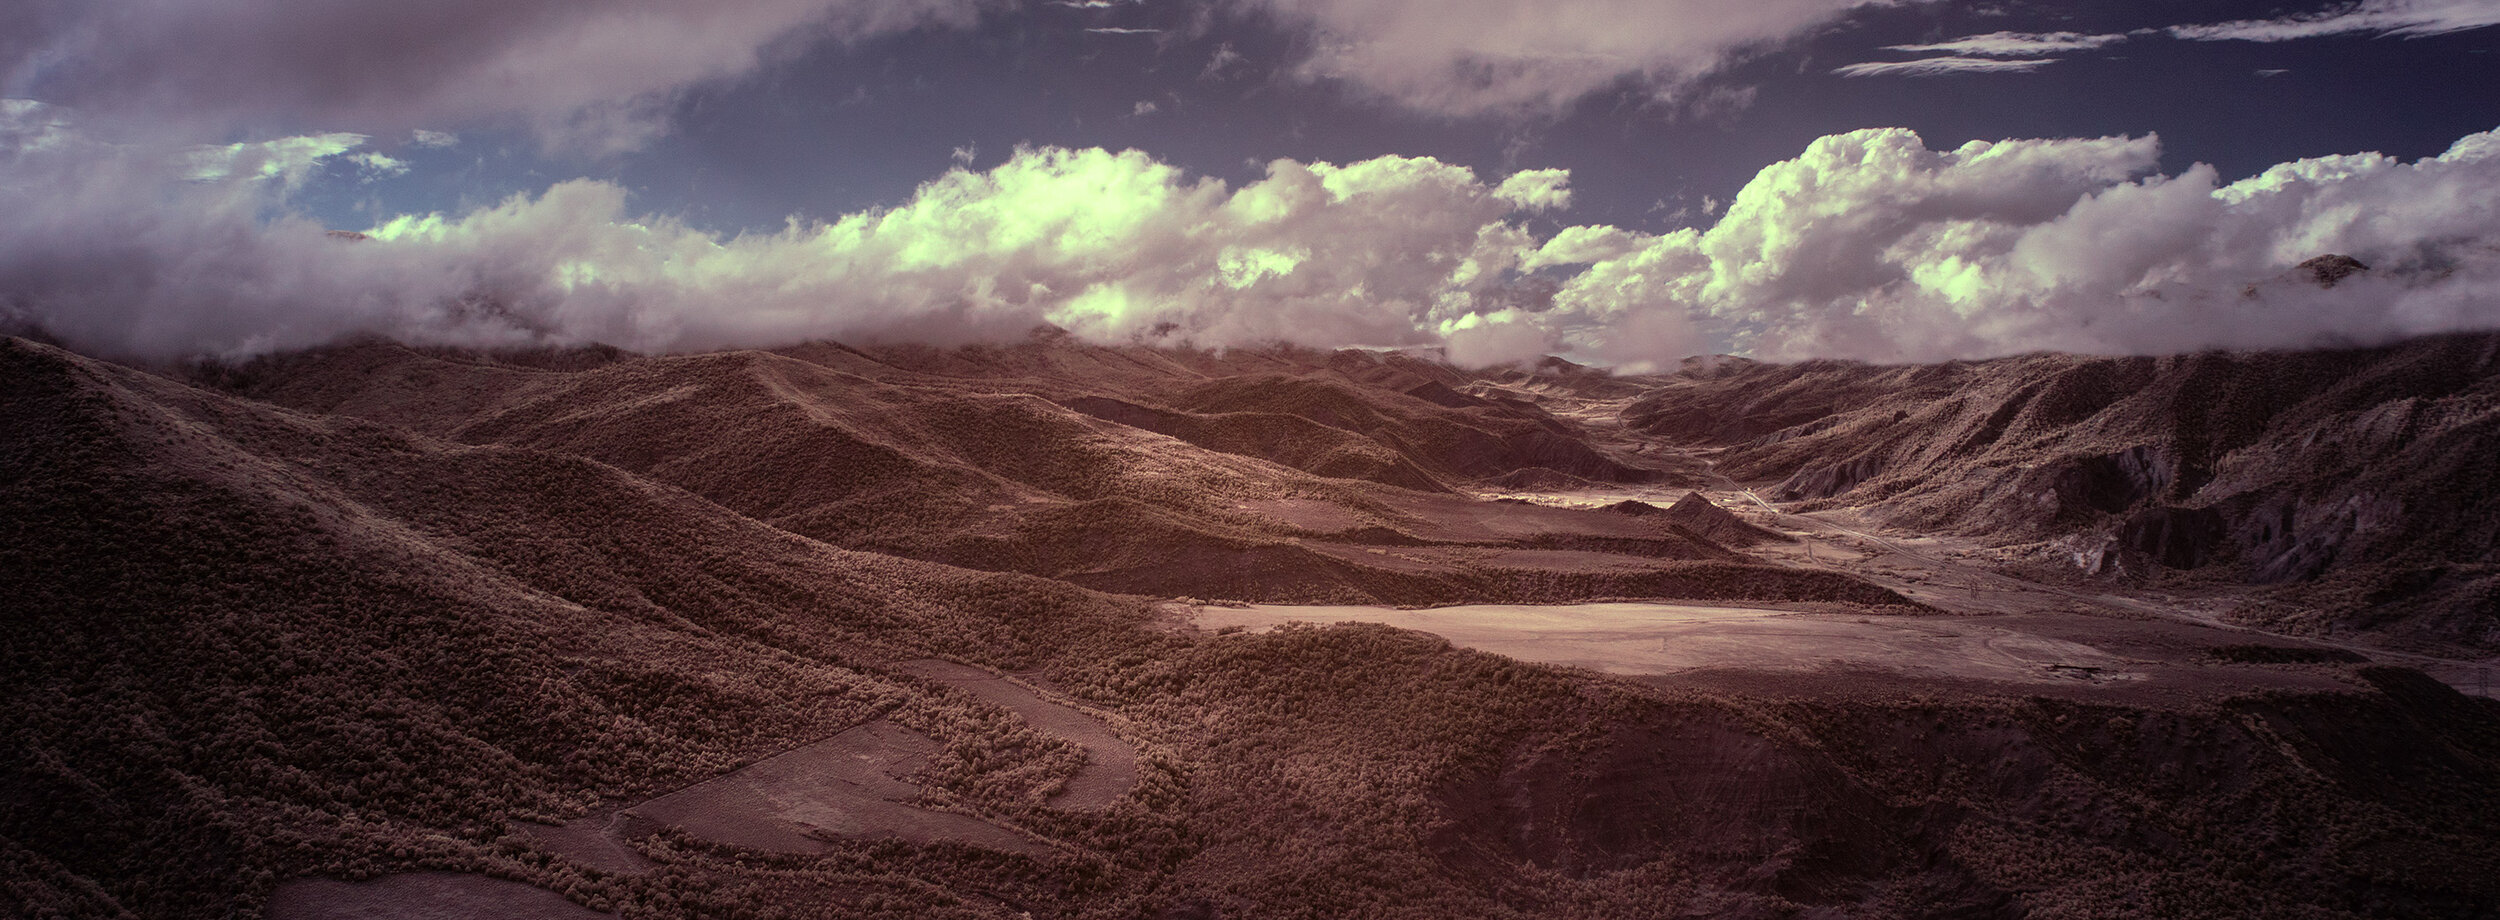
Random Colorado Valley Canon 5d Mark iii w/IR filter removed
Infrared digital photography is an interesting pursuit. Modern camera sensors are able to detect much more of the electromagnetic spectrum than our eyes can perceive. The Ultraviolet and Infrared wavelengths of light that fall outside of the visible spectrum can (and do) interfere with how the sensor records the information for any given pixel. The resulting images, if left unfiltered, result in super interesting color shifts towards the purple and pink regions of the visible spectrum. In order to ensure that camera sensors only capture the wavelengths of light that the average human can visibly perceive, camera manufacturers place Ultraviolet and Infrared filters on top of the sensor. These filters allow the visible light spectrum to pass through, but block all of the unwanted wavelengths of light that fall outside of the desired area.
So… that means… it’s possible to easily convert a normal camera into an Ultraviolet or Infrared sensing machine… all you have to do is remove either UV or IR filter.. or both… and bam… Everything changes.
(disclaimer: it’s way harder to remove these filters than it sounds… don’t try this at home, unless you’re willing to throw the camera in the garbage.)
In 2014, I was fortunate enough to receive a Canon 5d mark iii that, at some point, had the Infrared filter removed. This was my first experience in viewing the world outside of the visible spectrum of light… and the experience was mind blowing to say the least.
Since the vast majority of digital photography tools were developed to process visible light, working with infrared images is an interesting challenge. The first challenge before one shoots any infrared photo is understanding lens physics in the context of infrared light.
Unbeknownst to me at the time, optical properties that make a lens great for visible light photography, don’t necessarily translate well to the world of infrared photography. Even though most lens manufacturers optimize their lenses to magnify visible light with complex lens arrangements, special coatings on the glass itself, and coatings along inside the barrel of the lenses… odd things like “hot spots” on the focal plane can (and DO) appear. This is mostly due to the shift in wavelength frequencies which encourage the IR light to behave differently than the wavelengths of light in the visible spectrum. (Those darn wavelength shifts are always a bad influence on others.) The vast majority of the infrared photos I snapped during these sessions were with the Zeiss Distagon ZE 21 and 28mm lenses, both of which are rated as poor performers in numerous online databases devoted towards this topic… One such database, that I unfortunately found after shooting all of the IR sessions, is the Kolarivision Lens Hotspot Database. Kolarivision’s website as a whole is an incredible resource for those looking to try their hand at IR photography. They offer a whole host of conversion services for just about every camera on the market, have a huge selection of cameras that have been converted to shoot full spectrum, IR, astrophotography etc… and have every filter/camera accessory you could imagine for “greater than visual spectrum” shooting. (no affiliation at all.. just passing on the info if you’re interested)
The photo below clearly demonstrates the IR hotspot phenomenon. It is possible to lessen the effect in post (with ALOT of work) if you want to retain colors in the IR photograph, but it’s much easier to convert the image to a Monochromatic colorspace. This usually mitigates the effect enough to render it virtually unnoticeable.
Converting the IR photo to Monochrome isn’t just a technique utilized to hide hotspots. Photographers have utilized IR photography for the rich deep contrast that make monochromatic images breathtaking. An adept photographer that understands the behavior of wavelengths in the infrared spectrum can utilize this technique to create some stunning images that just are not possible in the visible light spectrum. For instance, IR light is completely absorbed/diffused once it hits water, meaning the water becomes mirror like in appearance allowing all light in the visible spectrum bouncing off of it to be clearly seen.
Below are three sets of images taken at the same locations within seconds of each other. One set are visible light spectrum photographs captured on a Canon 5d SR, and the other set are IR photographs captured on an IR converted Canon 5d mark iii. In order to observe how each spectrum of light behaved, both sets of photographs were procured through the exact same Zeiss ZE 28mm f2 lens at 1/60th of a second.
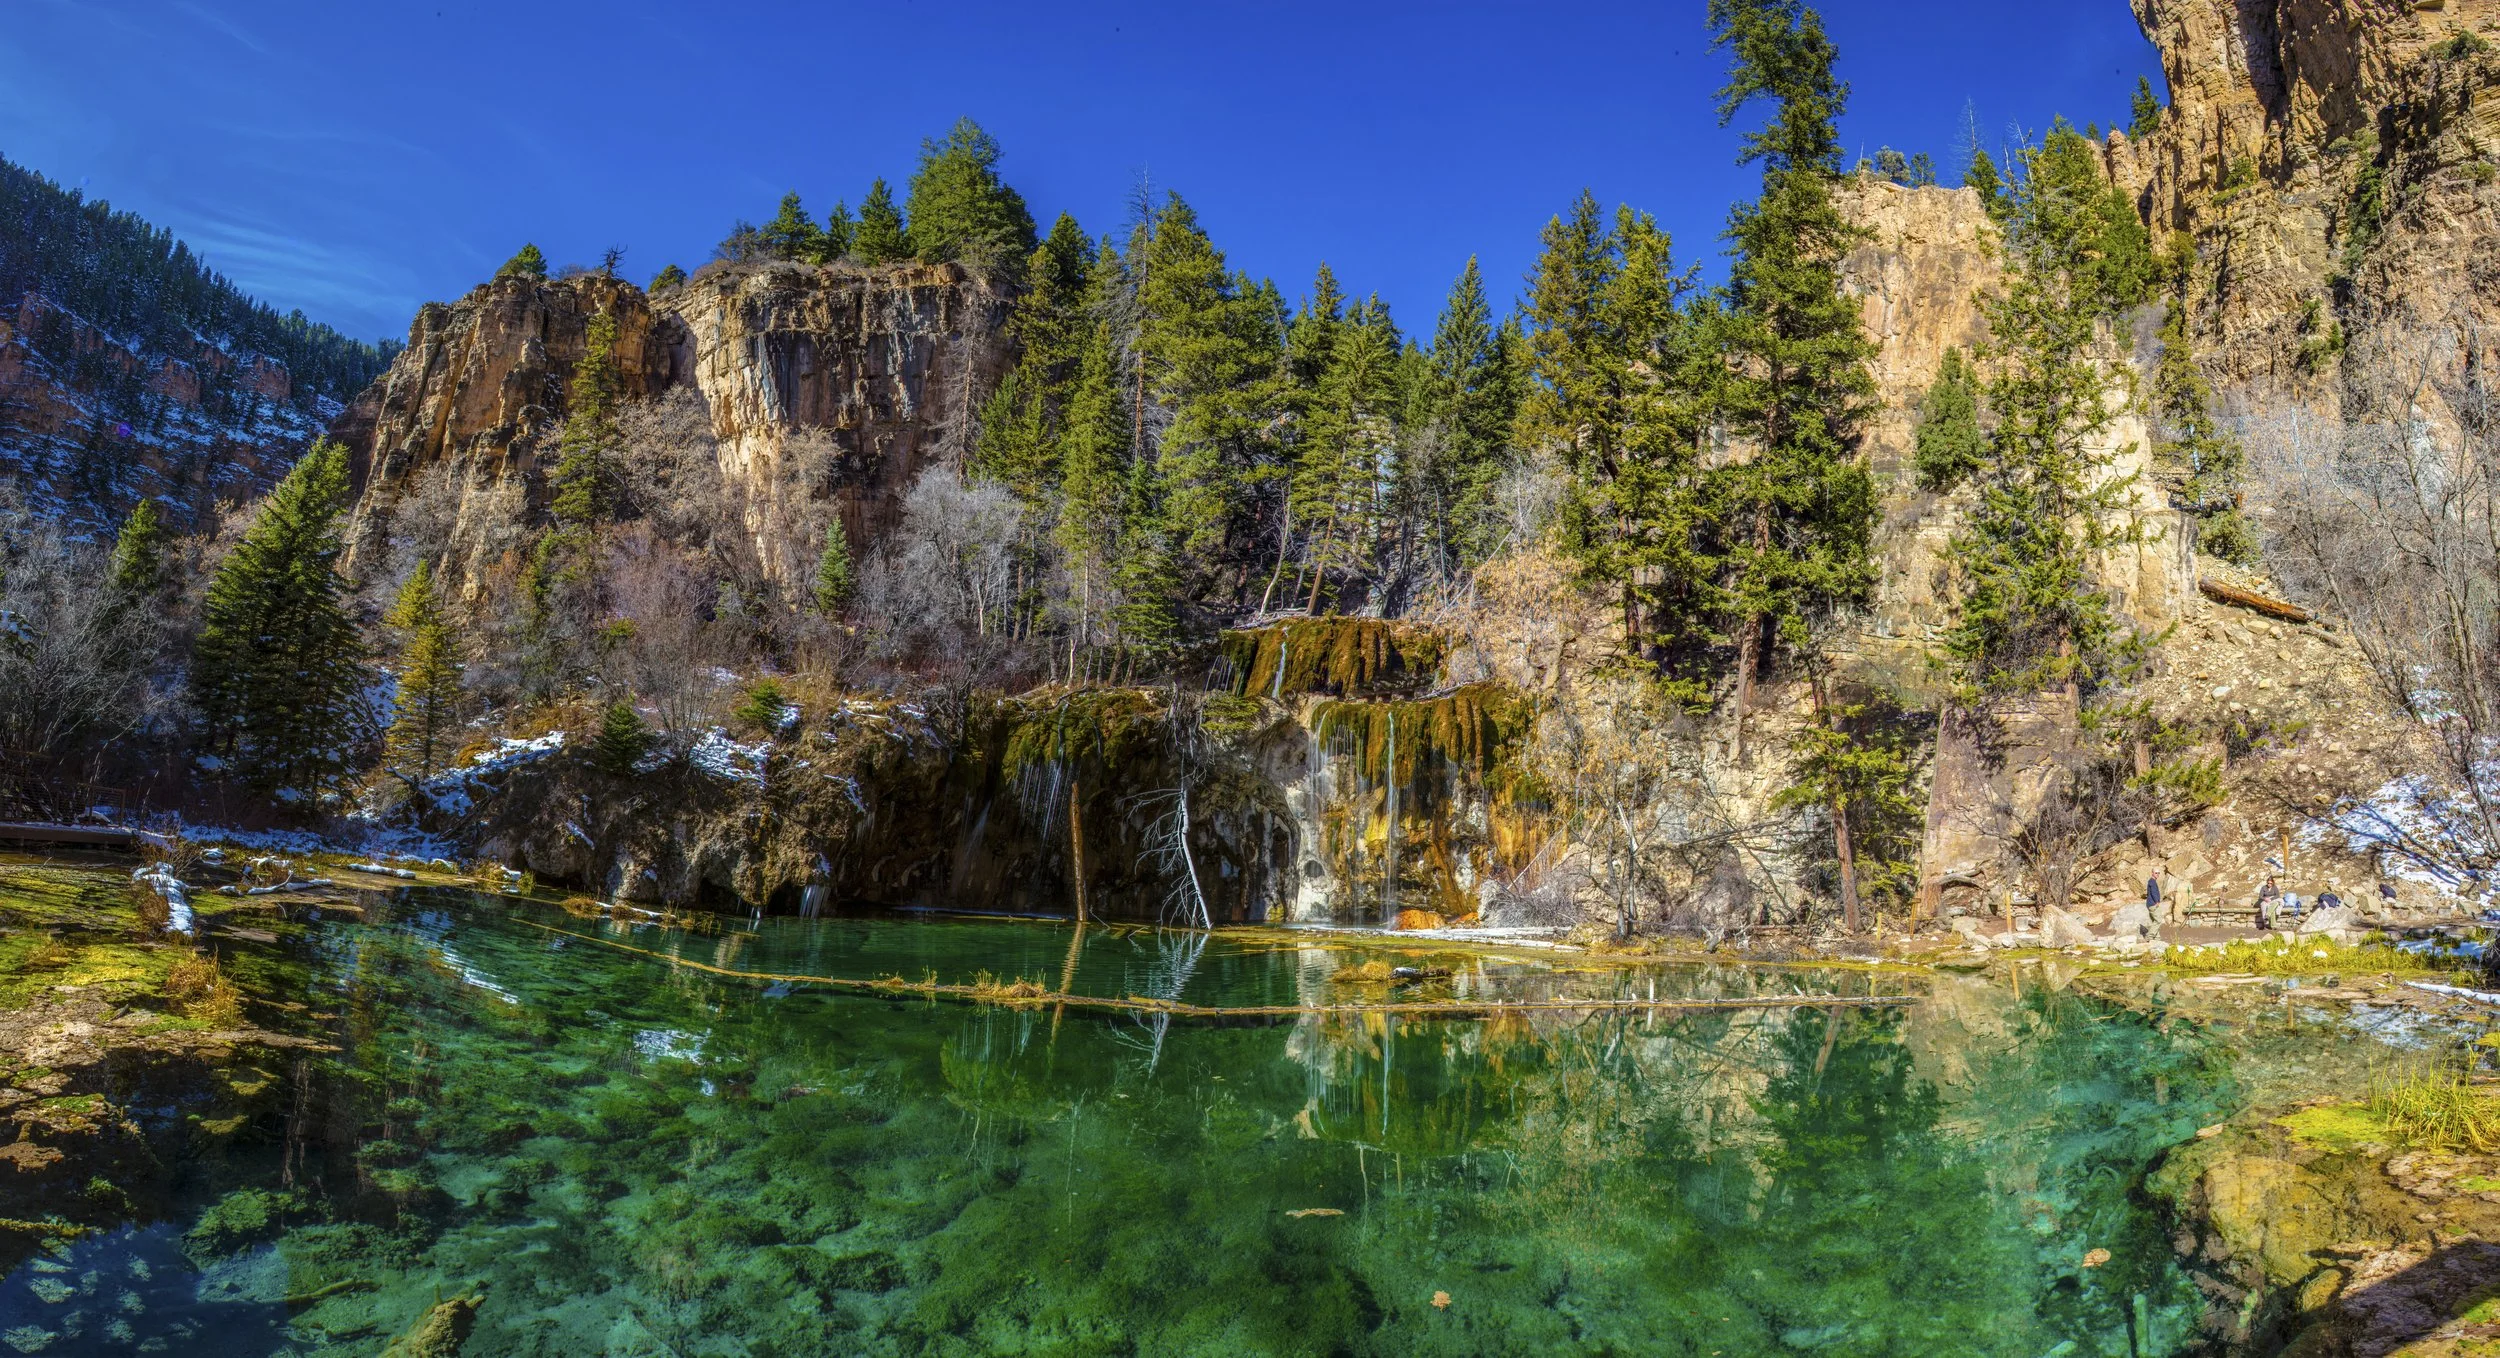
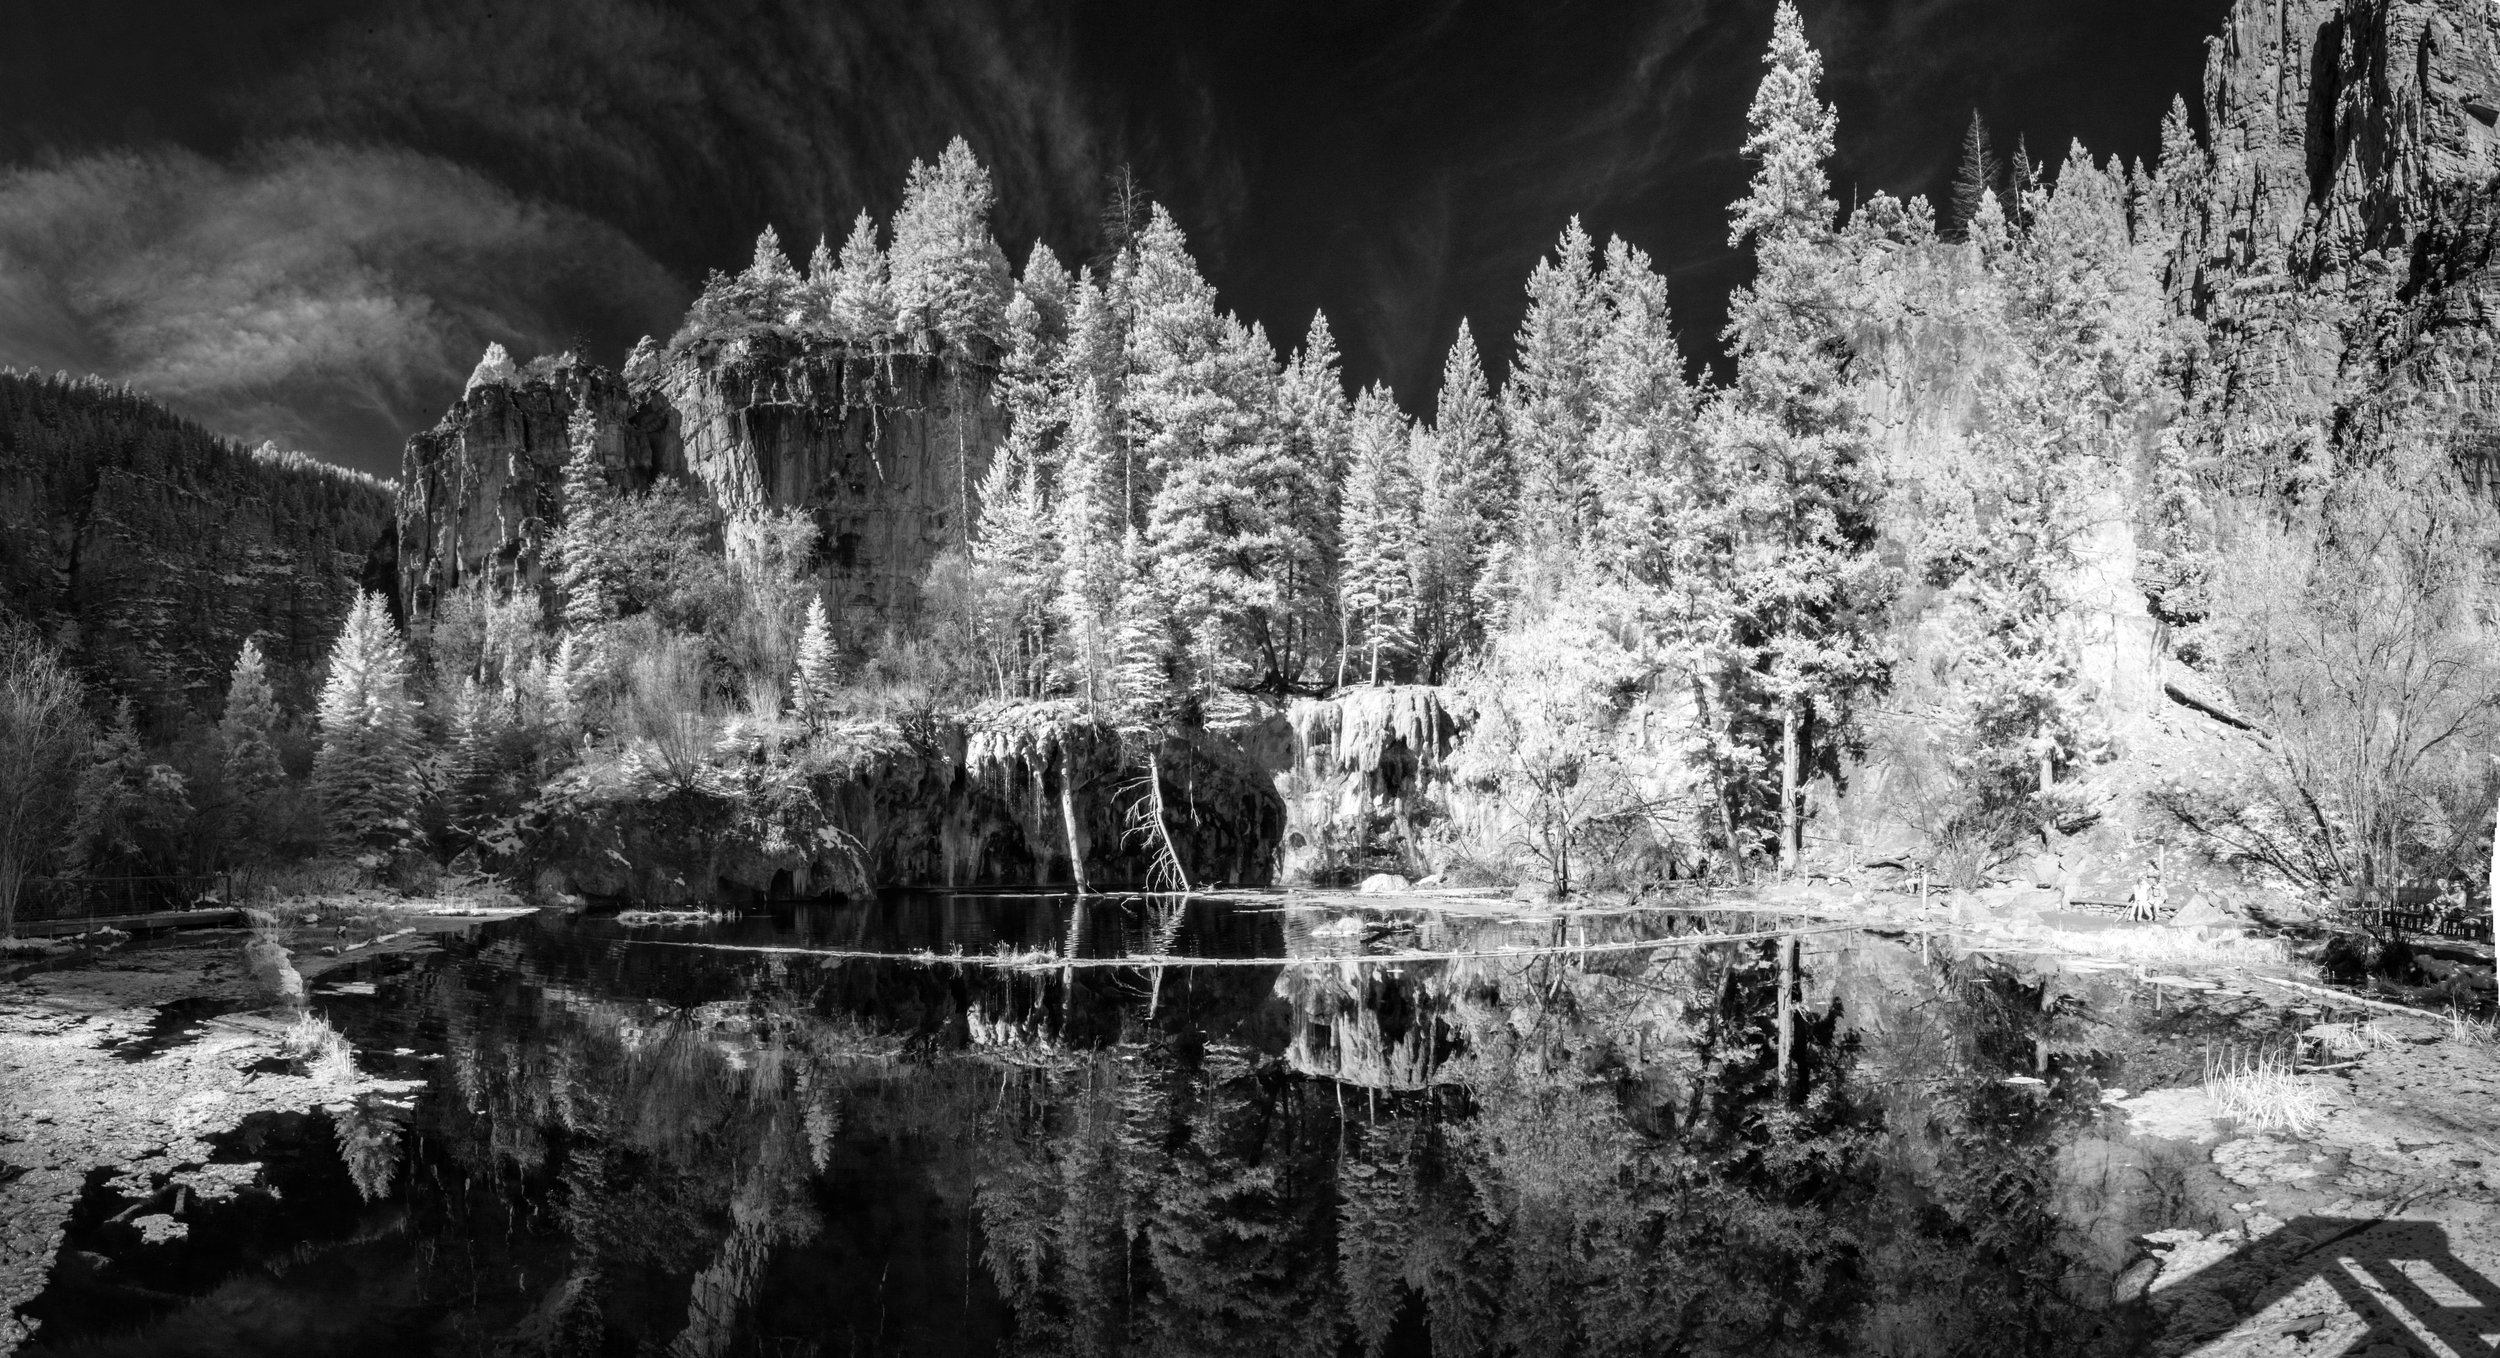
When comparing these two images of Hanging Lake, it’s fascinating to see the differences in both images. In the upper image, the visible spectrum of light conveys the almost iridescent green that the pristine waters exhibit. Even from this vantage point on the shoreline, one can see all the way to the bottom of the body of water. The chloroplast in the foliage casts a yellowish green tint on the landscape, and the sky is a deep blue with barely any cloud cover visible. The lower image depicts a dramatically different scene. Rather than gazing into the green depths of the pristine lake, we see what appears to be a mirrored surface, perfectly reflecting the etherial plant life that towers above. In digital IR photography, one must set the white balance to a color in the visible light spectrum. This gives the sensor a starting point to calibrate the brightest point (the color white) from, and the images produced will vary in appearance depending on what color you designate as the brightest point. In these photographs, the white balance was calibrated on a tuft of grass. This technique makes all of the foliage appear like it’s been recently covered in snow. The sky, when viewed through IR, exhibits cloud cover that is invisible to the naked eye.
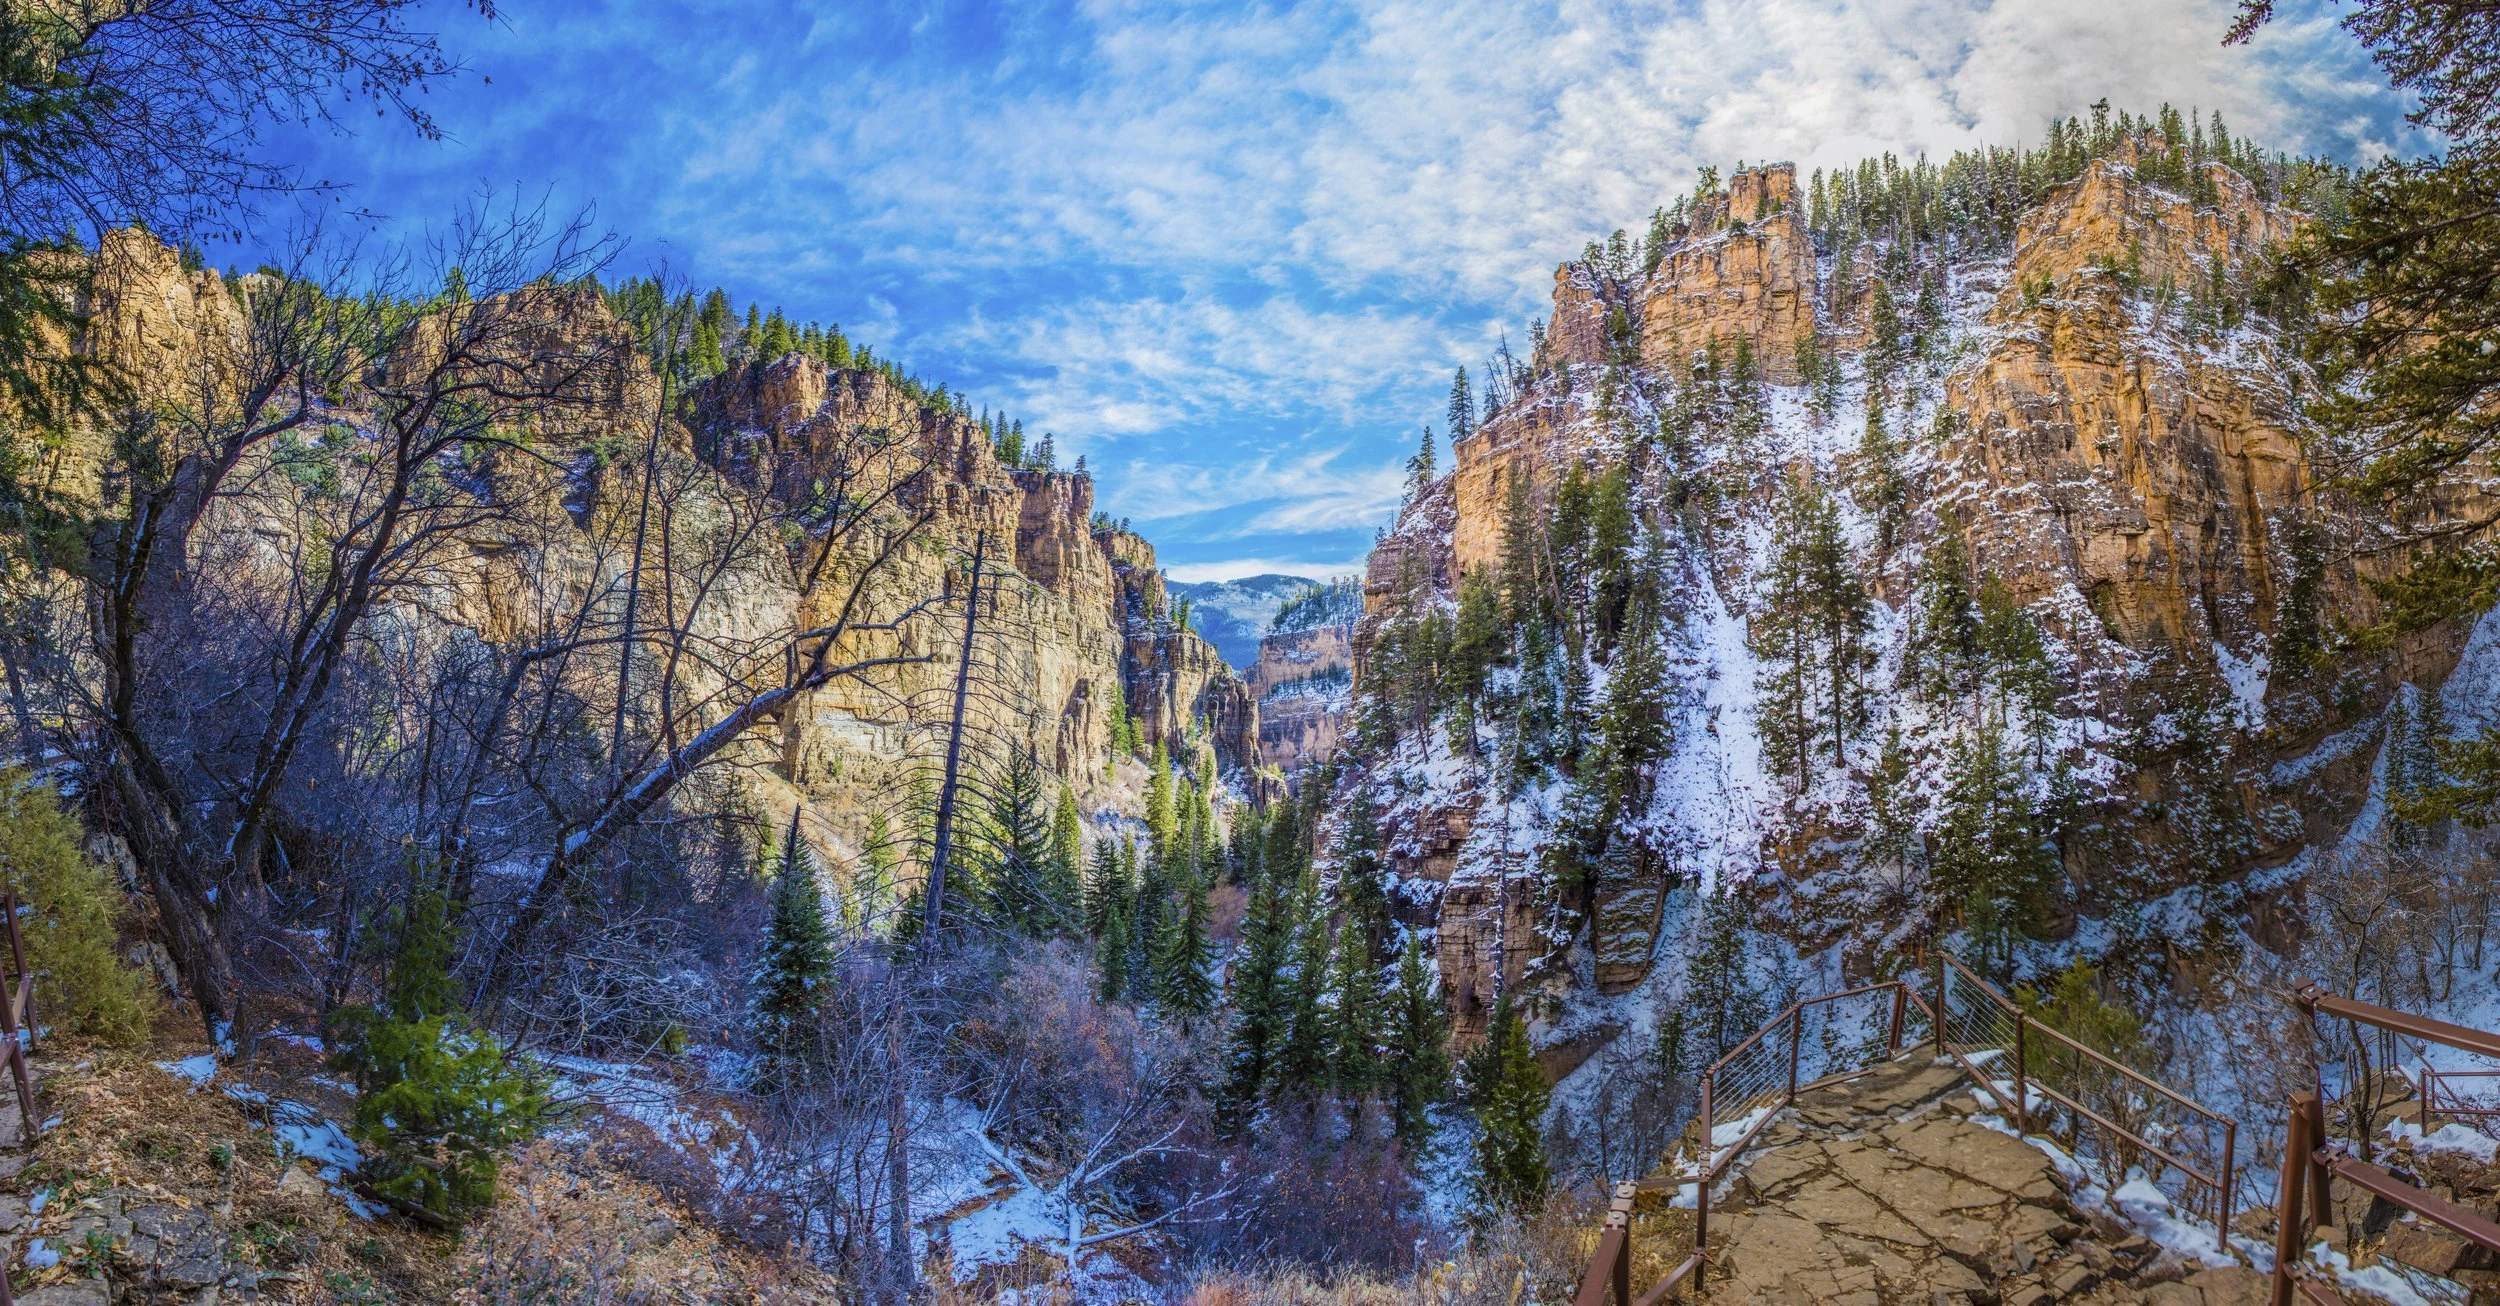
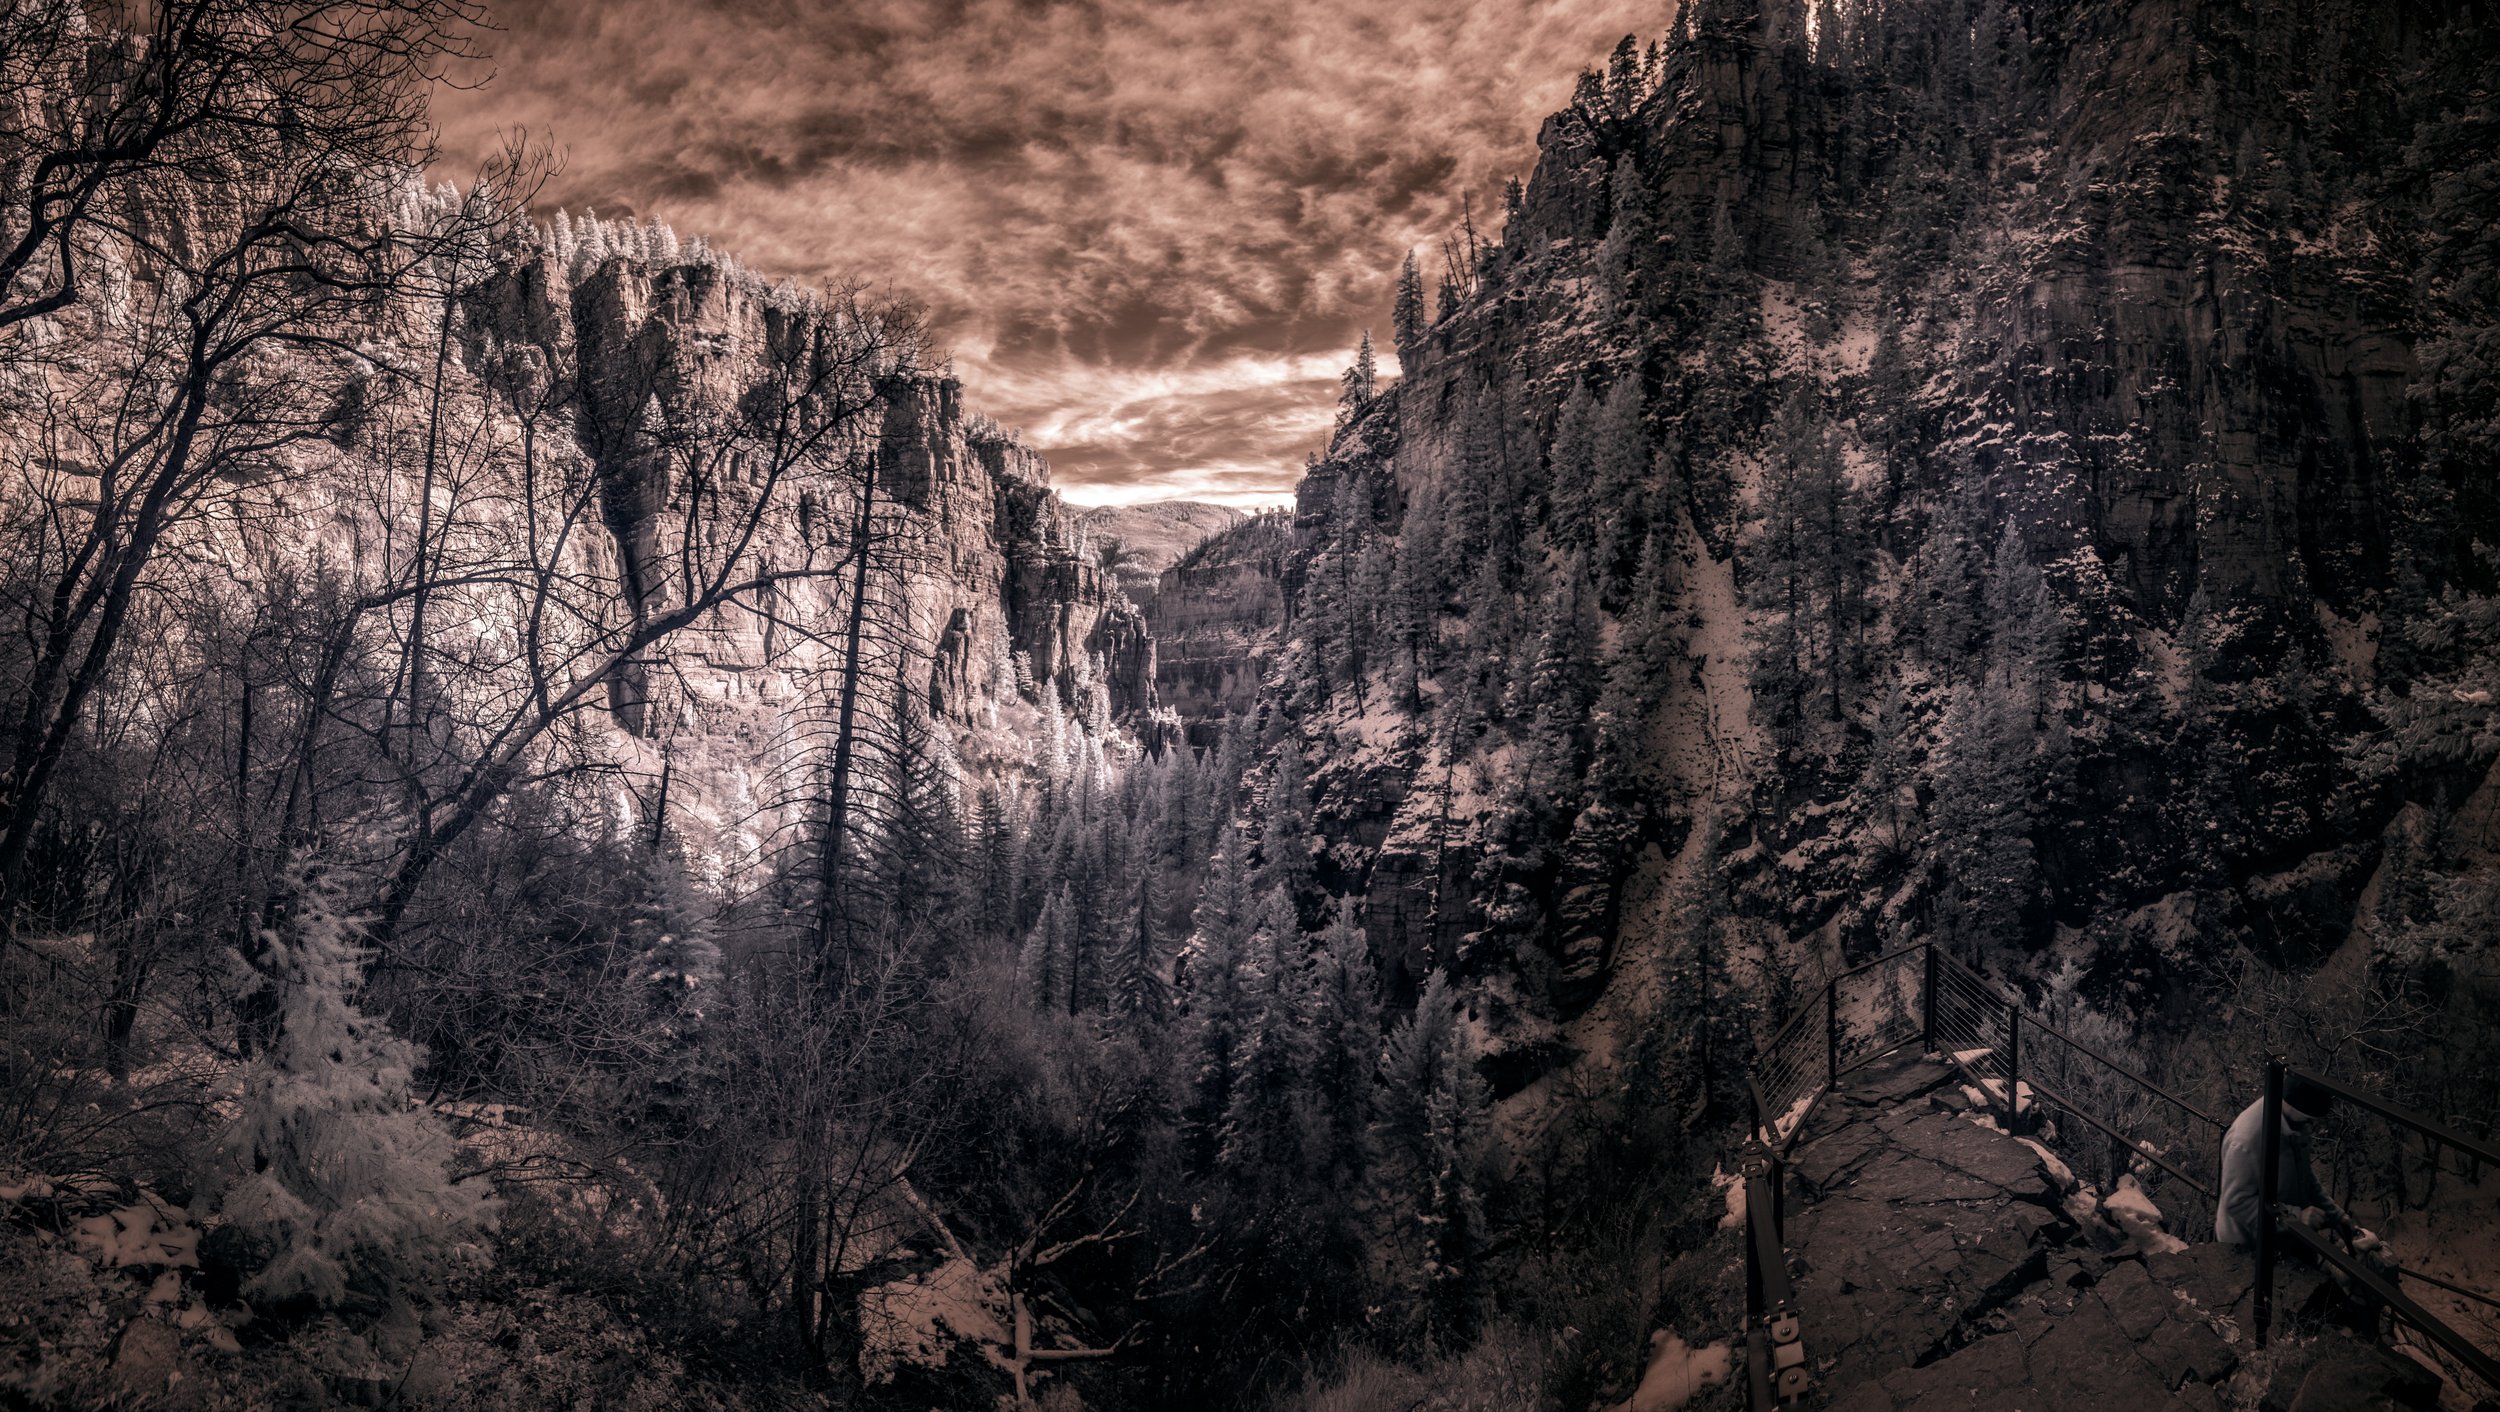
The canyon above depicts the stark contrast of visible and IR spectrum behavior, and how the exact same composition can evoke entirely different compositional structures. For instance, the cliff face to the right of the image is fully illuminated by scattered visible light, however when we view it in the IR spectrum, we see a dramatically darkened area. This is one of the many differences that give IR photography enthusiasts countless hours of perplexity and honest wonderment at the physics of the electromagnetic spectrum and the wonderment of our universe as a whole.
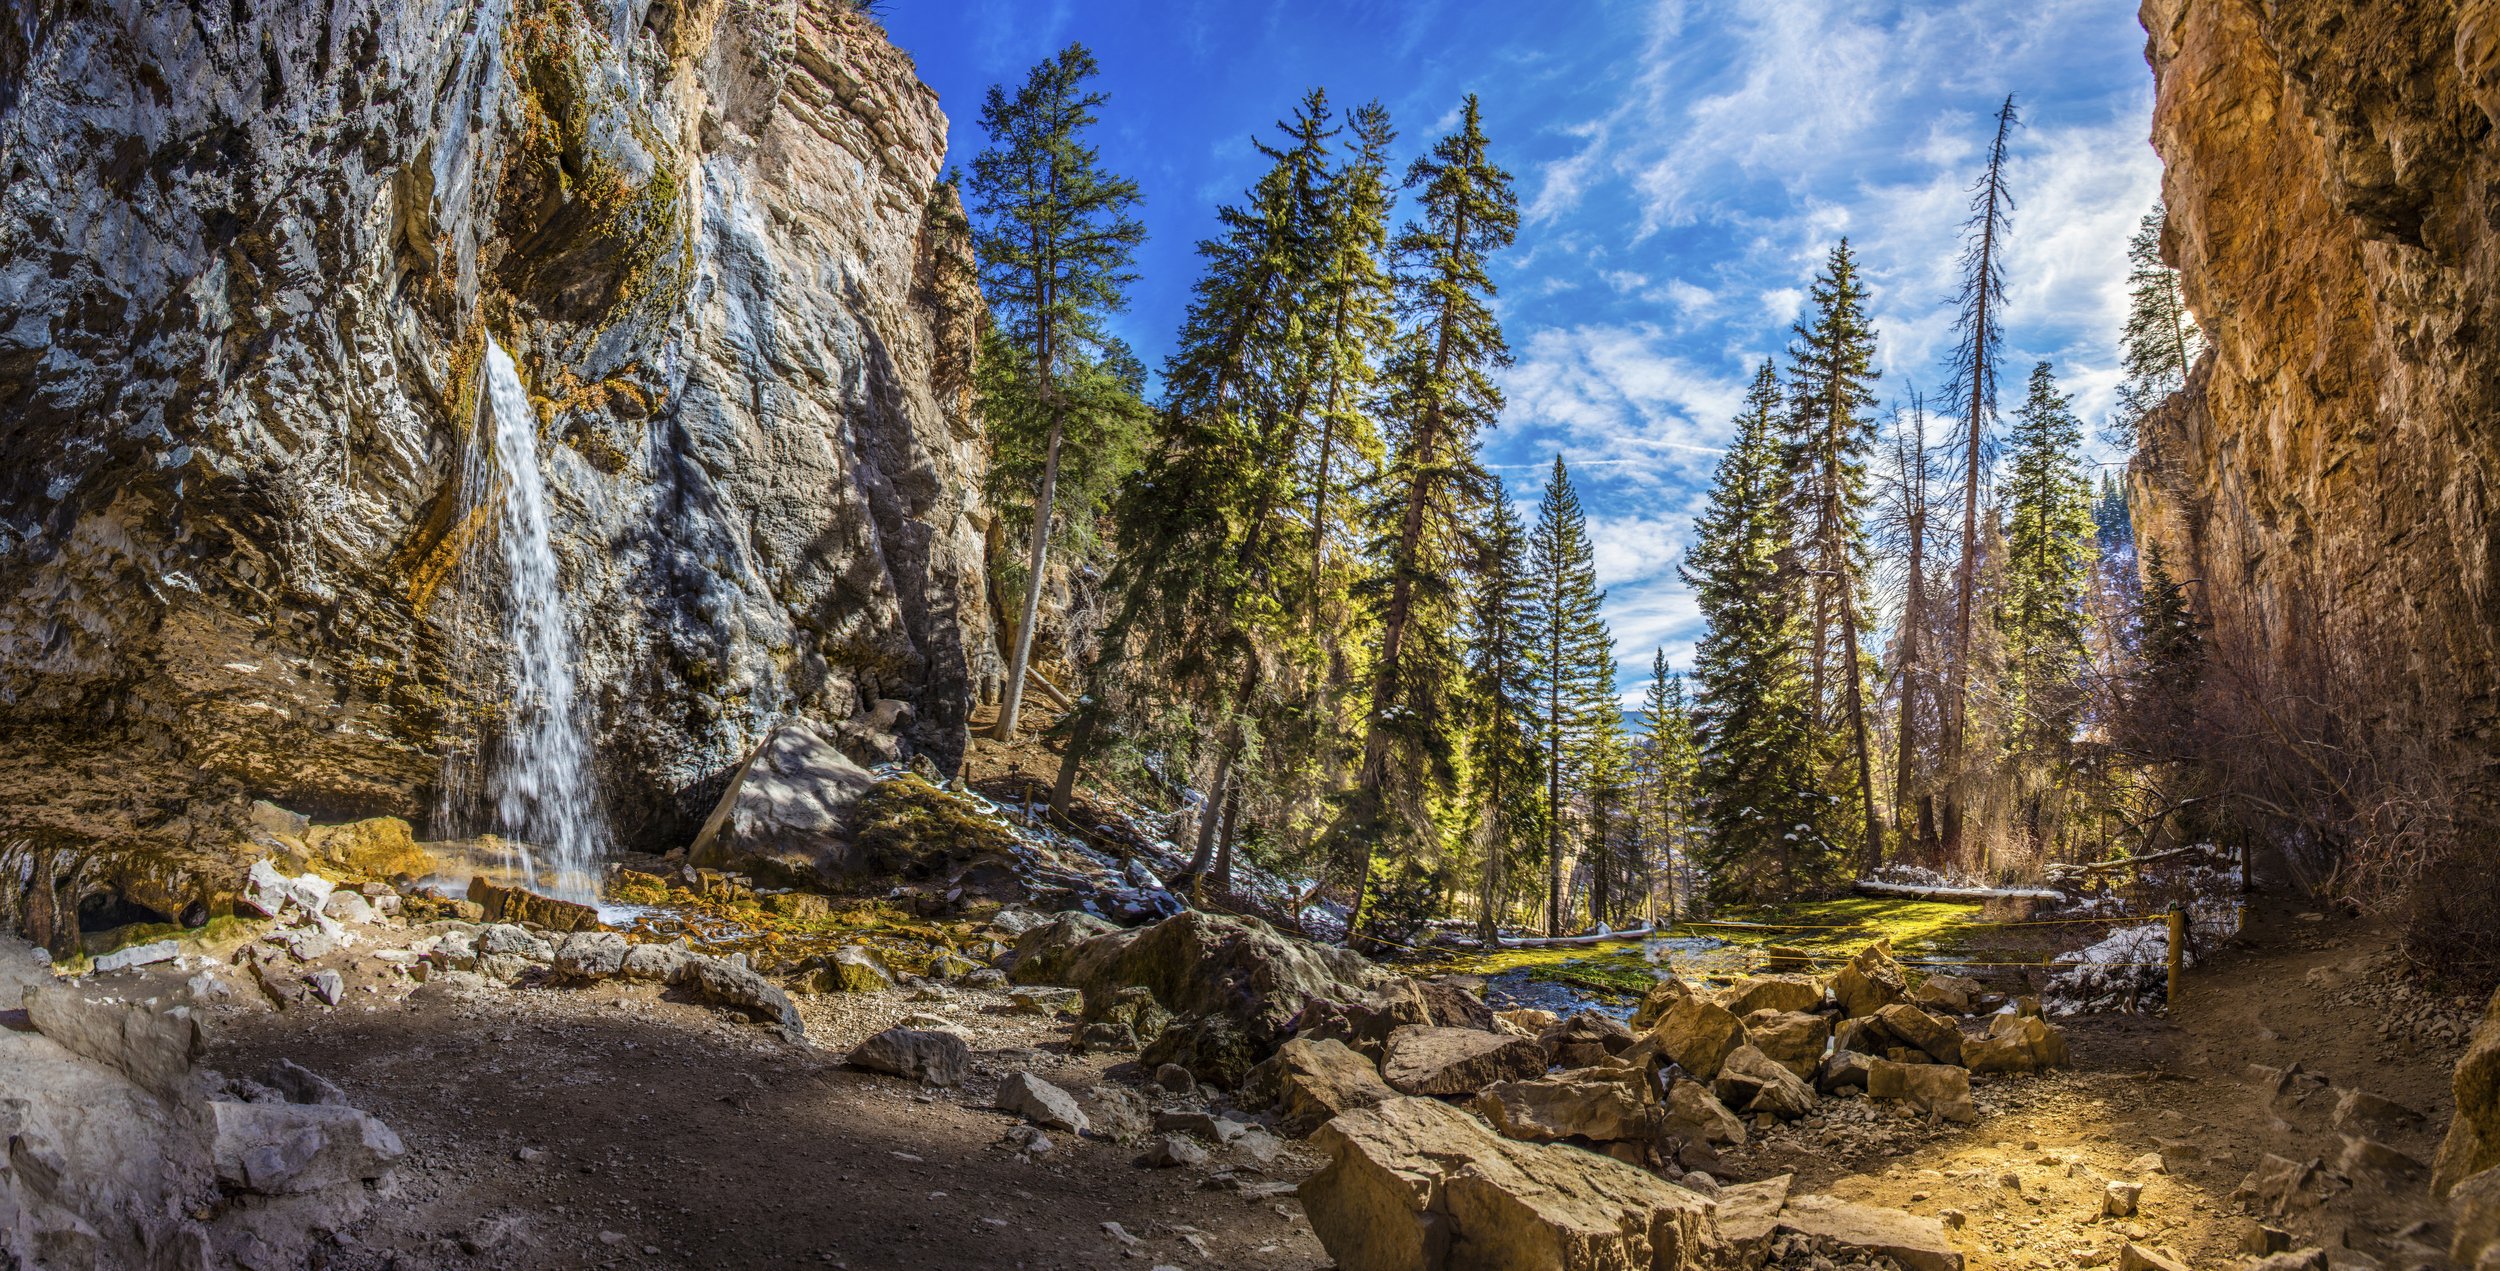
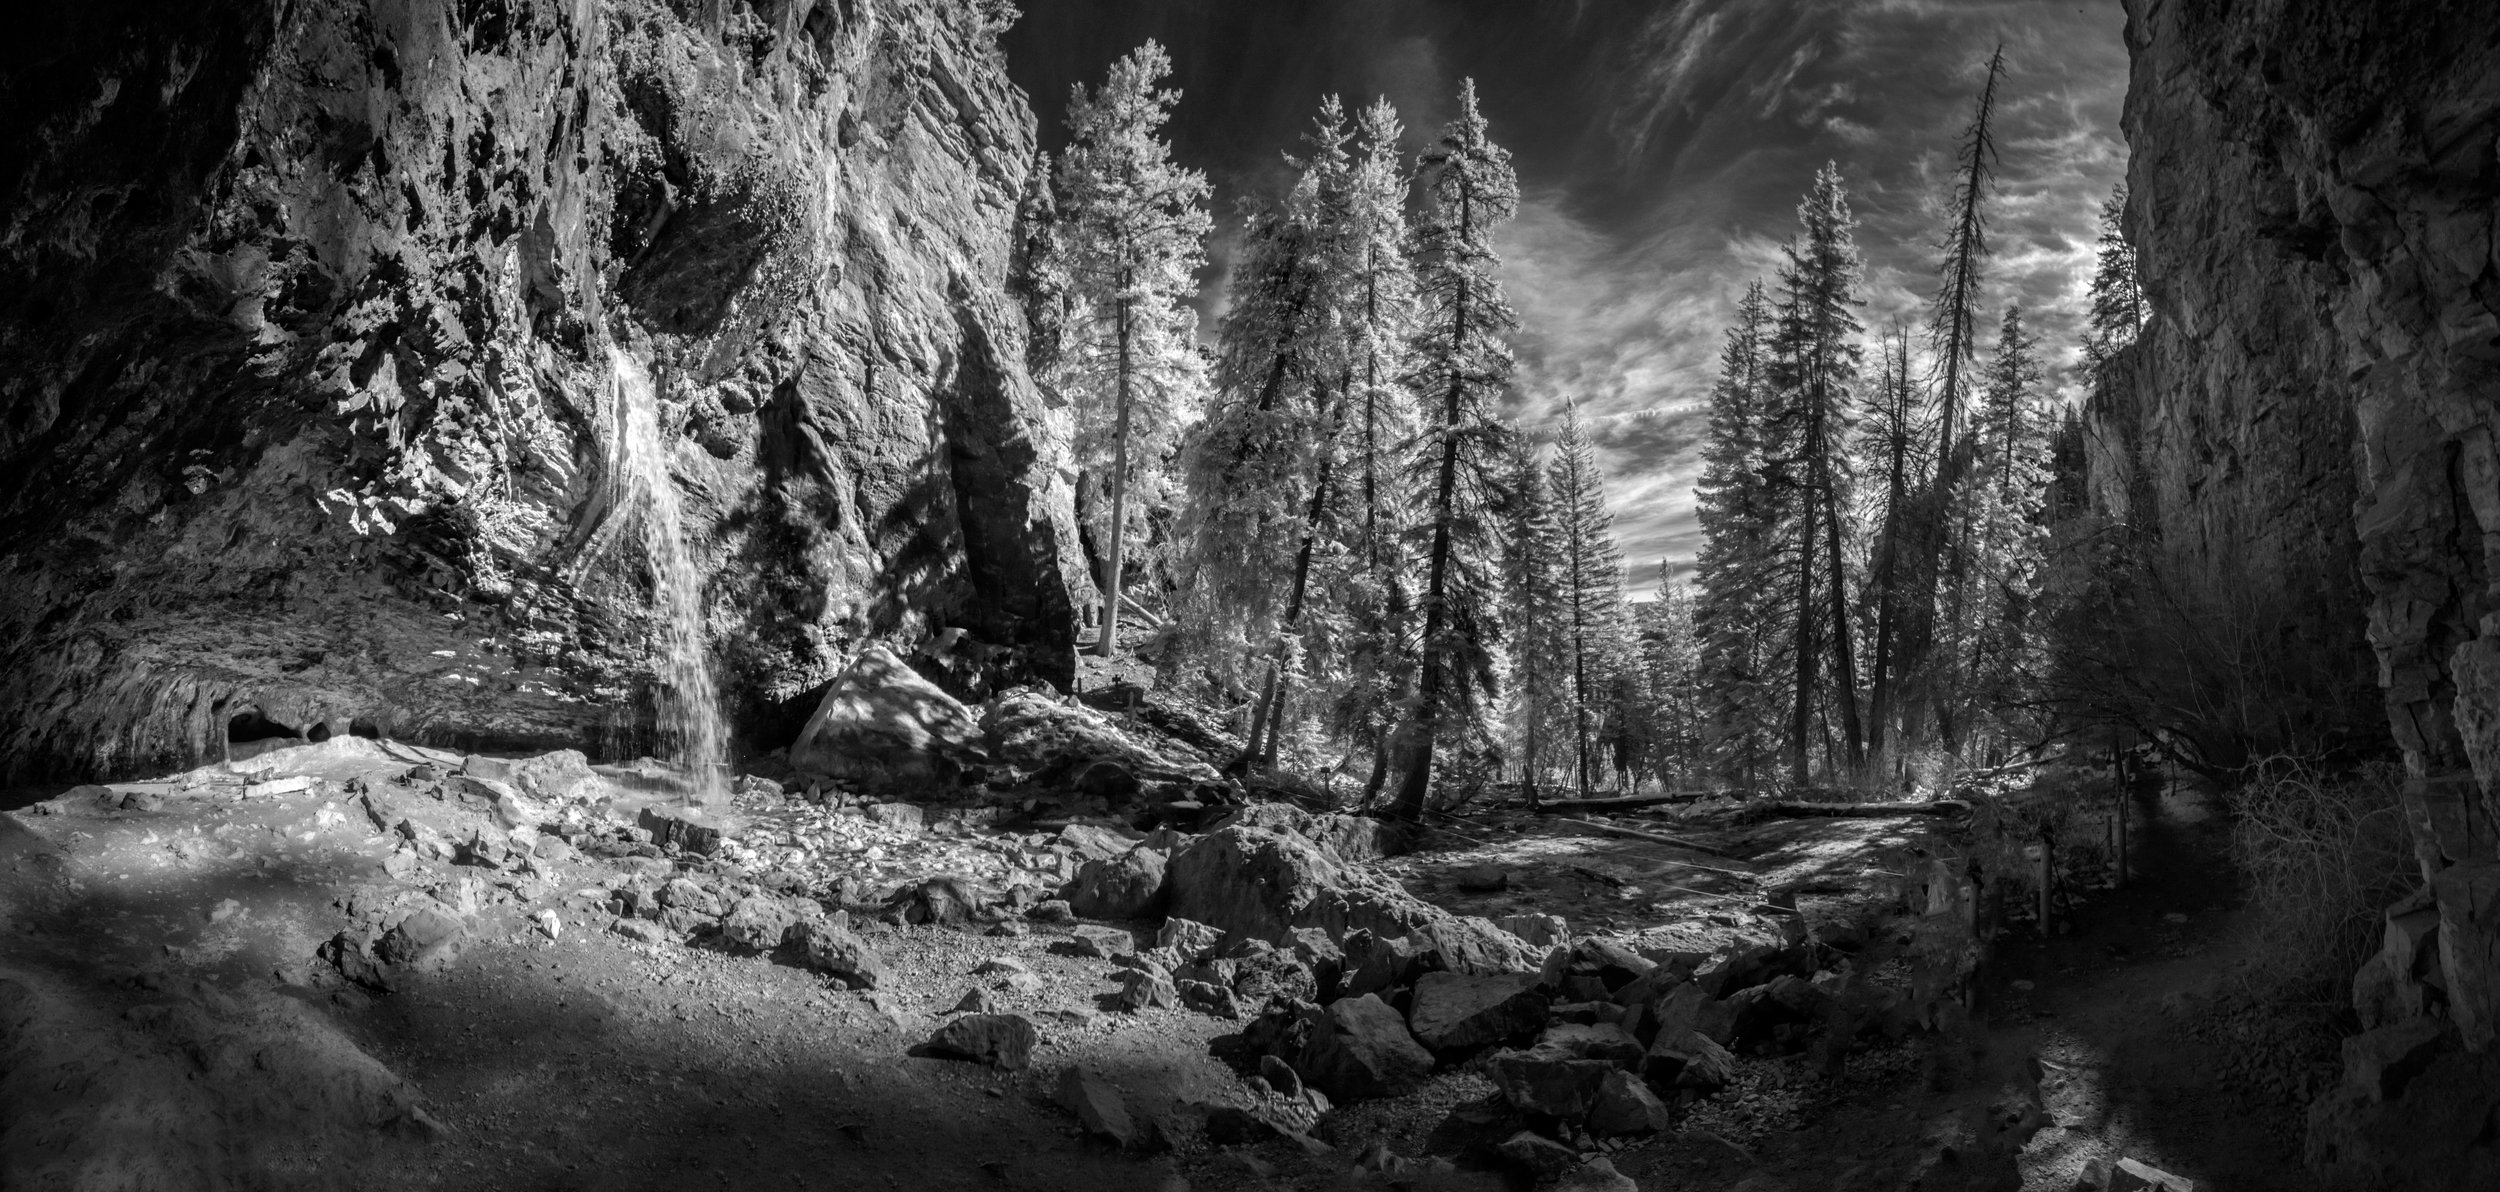
For the final comparison shot we see a similar lack of IR illumination on the cave wall to the right. While both images depict fascinating geological scenes, the shadows of the IR image cast a dramatic overtone to the entire image as a whole. It is for this reason that many serious photographers embrace the odd workflow and visually perplexing world of IR photography.
